
🖼️ How to Create a Gallery Wall at Home: A Practical and Creative Guide
If you're looking to add more personality to your walls and transform your space with an artistic touch, creating a gallery wall at home might be just what you need. It’s an affordable, charming, and super versatile way to decorate—whether with artworks, photos, illustrations, or even sentimental pieces. Not sure where to start? Don’t worry—here’s everything you need to know, step by step!
9/3/20252 min read
📍1. Choose the Perfect Spot
Before anything else, take a new look at your home. Which wall is asking for attention? Some ideal places to create your gallery:
Living room: above the sofa or on the main wall
Hallways and staircases: take advantage of these transitional areas
Bedrooms: above the headboard
Home office: to add inspiration
Bathroom: yes, really! Just choose moisture-resistant frames
💡 Bonus tip: Observe the lighting. If there’s natural light or a way to add spotlights, even better!
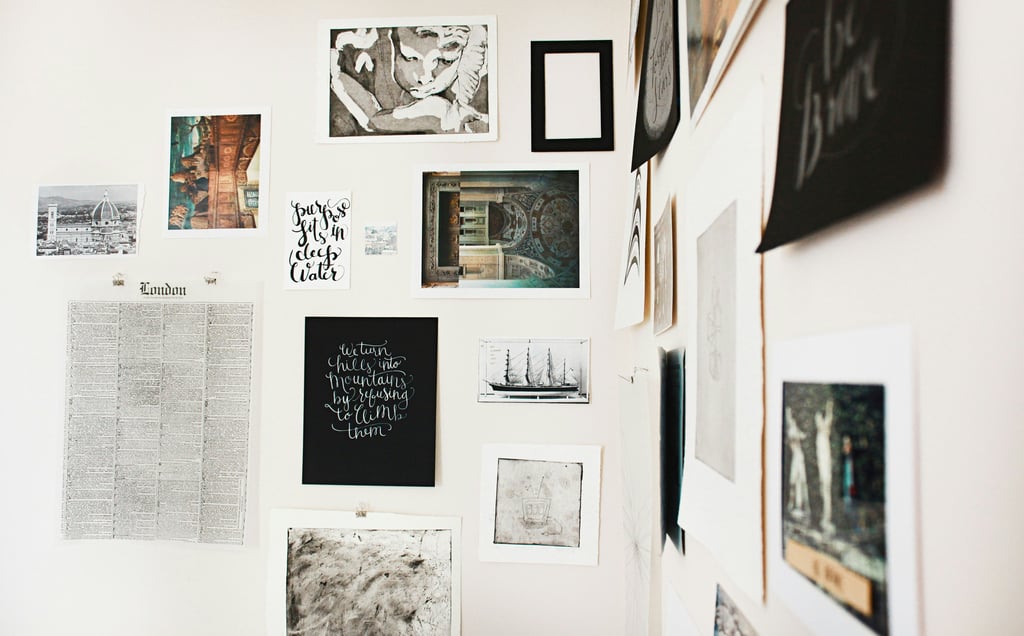
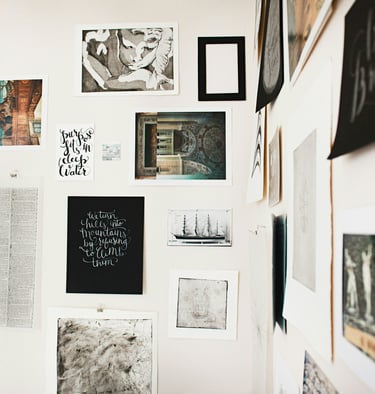
🎨 2. Define the Style of Your Gallery
Your gallery can follow a more organized, minimalist look or be a creative mix of different styles.
Theme: choose a common theme, such as nature, abstract art, portraits, black & white, inspiring quotes...
Frames: go for uniform frames (like all black or white) for a clean look, or mix different colors and materials for a relaxed vibe.
The key is harmony. Even with varied pieces, a gallery can look cohesive if you stick to a consistent color palette or dominant style.
🧩 3. Lay Out the Frames Before Hanging
Here’s where the magic begins. Gather all your frames and play around with the layout on the floor before moving to the wall.
Some layout ideas that work really well:
Grid: perfectly aligned and symmetrical
Organic: a freeform layout that seems to grow naturally
Linear: great for narrow spaces like hallways
Staircase: following the rise of the stairs
Combine different sizes, but keep the balance. A large centerpiece can be surrounded by smaller ones for visual flow.
✂️ 4. Mock It Up on the Wall with Paper
This tip is gold: cut paper templates the size of your frames and tape them to the wall using painter’s tape. This helps you visualize the final layout with zero risk of making holes in the wrong place.
Adjust, align, and test different heights and distances. Once you're happy with it, mark the spots for nails or hooks.
🔧 5. Hang with Confidence
The ideal height for most frames is with the center of the artwork about 63 inches (160 cm) from the floor—average eye level. When hanging above furniture (like a couch or bed), leave at least 8 inches (20 cm) of space.
If you’re renting or don’t want to make holes, try:
Command strips or heavy-duty adhesive hooks
Removable mounting systems
Narrow picture ledges, so you can lean your frames instead of hanging them
💡 6. Light It Up!
Good lighting takes your gallery wall to the next level. Use adjustable spotlights, track lighting, or take advantage of natural light.
Avoid direct glare on glass surfaces. If needed, go for non-reflective glass or matte acrylic.
🏁 Finish with Personality
Now that your frames are on the wall, take a step back and enjoy! Your gallery should reflect your style, memories, and inspirations. And the best part? It can grow and evolve over time.
Want to add an extra touch? Include decorative elements like wooden letters, small mirrors, ceramic plates, or hanging plants between the frames.
💬 Conclusion
Creating a gallery wall is easier—and more fun—than it seems. It’s a beautiful way to express yourself and transform a space without spending much. Whether it’s family photos, your favorite movie posters, original art, or travel mementos, the important thing is that your wall tells a story—your story.
🎨 Ready to design your own gallery wall? Start today and share the result with your friends!
© 2025 Dhomehub. All rights reserved.